Cameras are limited by the range of light intensities they can interpret, depending on the format- JPG’s have an 8 bit depth, which means, according to the binary language of computers, JPGs only see 256 shapes of light, from dark to light. RAW files have 14 bit depth. HDR, or High Dynamic Range images can see up to 32- bit depths of light intensities, the problem is, this far exceeds the capacity of the camera. How do we do it then?
You use a tripod and a remote shutter release and take three images (you can also use bracketing to keep it simple). The keys are:
1. Do not move the camera.
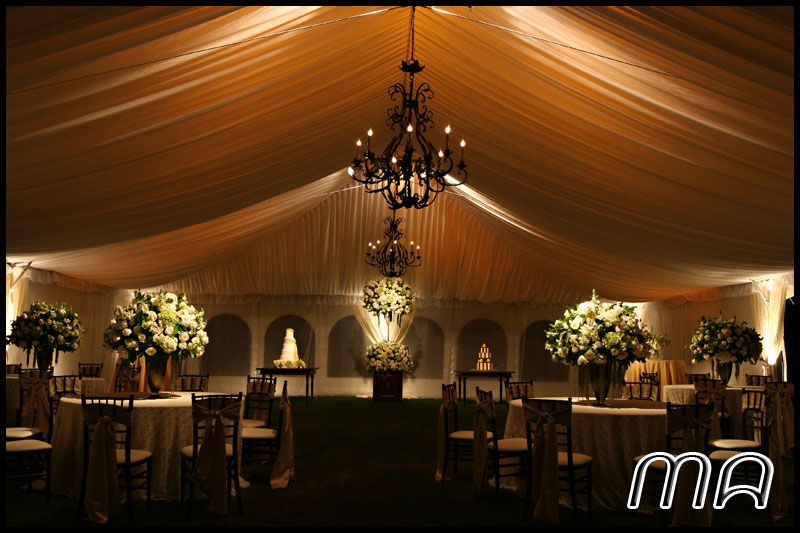
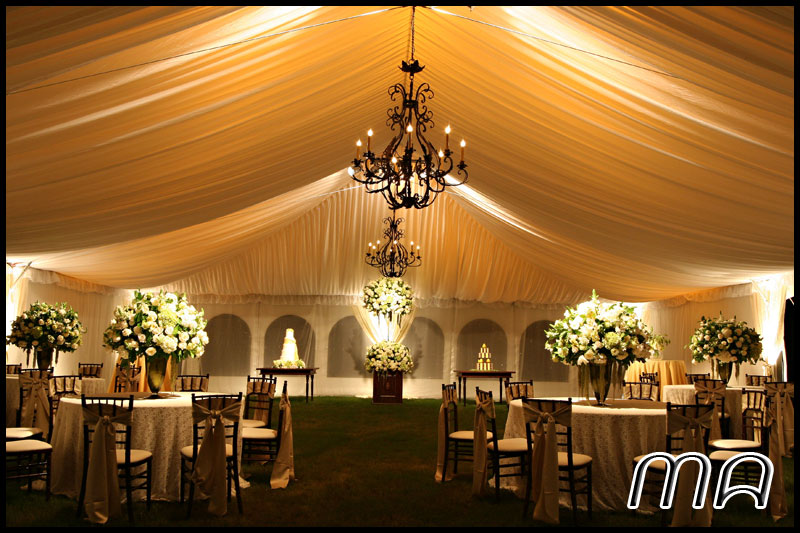
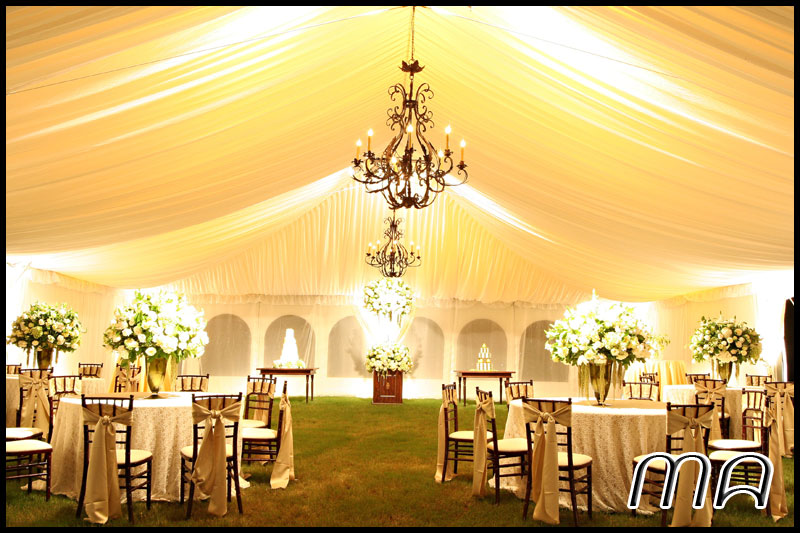
2. Take 3 pictures, one under exposed, one exposed normally, and one over exposed.
3. Change the f-stop values by at least 1 f stop, change it by shutter speed, not aperture. (otherwise depth of fields will not converge correctly).
4. Use photoshop to merge the 3 images into a single 32 bit HDR file.
5. Adjust and tweak as needed and then export.
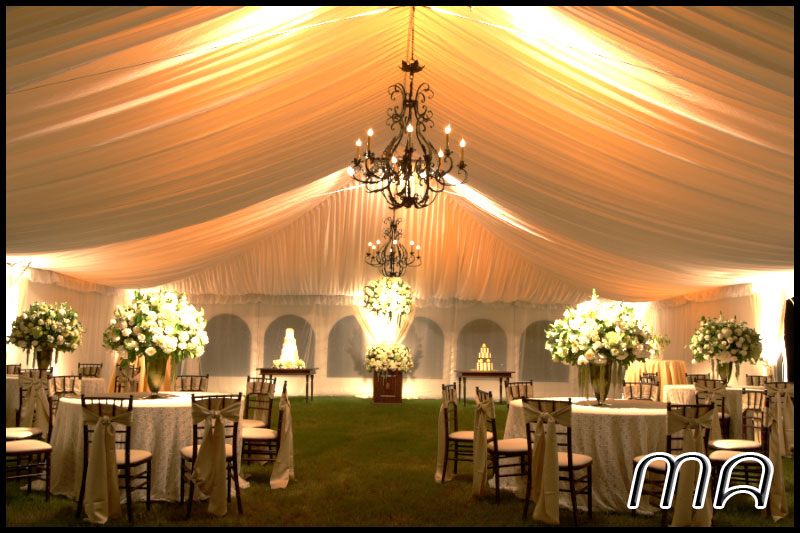
This was my first attempt at HDR, not the prettiest, but it was cool enough to make the magazine. I actually think I like the over exposed one the best.
 Under Exposed
 Normal Exposure
 Over Exposure
 Merged Image


one word – Stunning!
i like the normal and under exposed
Now that I am looking at it, it appears the mistake I made was on the underexposed image. See how some of the highlights are blown out? (Left cake, not the right). The HDR merge process uses the under exposed file for its shadows, if its blown out on that, it will be blown out on the final. This was fun to try.
I like the overexposed!